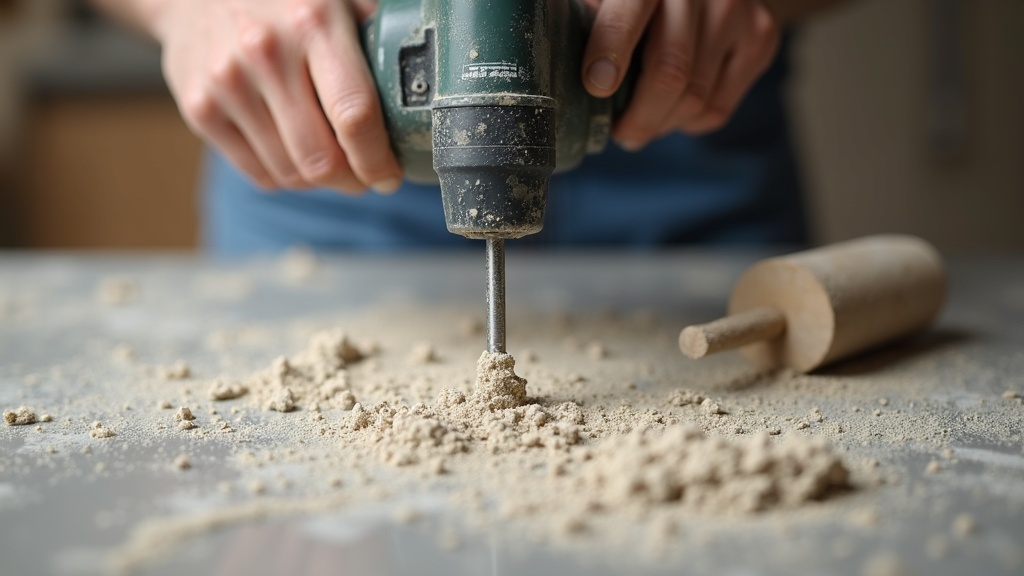
Learn how to choose a drill for mixing grout, including key specifications, speed settings, and best practices for achieving consistent results in construction and home improvement projects.
Table of Contents
- Key Specifications for a Mixing Drill
- Proper Mixing Technique and Slaking
- Avoiding Air Bubbles and Achieving the Right Consistency
- Batch Size and Working Time Management
- Frequently Asked Questions
- Comparison: Standard Drill vs. Mixing Drill
- Practical Tips for Grout Mixing
- Key Takeaways
- Useful Resources
Article Snapshot
A drill for mixing grout requires a powerful motor, variable speed control, and a side handle for torque management. Proper technique, including low-speed starts and slaking, ensures a consistent, bubble-free mix that performs well in both tile work and industrial applications.
Quick Stats: Drill for Mixing Grout
- The RubiMix 9 mixing drill features a 10 amp motor and 1200 watts of power (Rubi Group, 2023)[1].
- This drill offers a 2-speed transmission with a first-speed range up to 620 rpm and a second-speed range up to 810 rpm (Rubi Group, 2023)[1].
- Home Depot recommends adding 3/4 of the required water before mixing grout and letting it slake for 5-10 minutes before a final remix (The Home Depot, 2023)[2].
Introduction
Choosing the right drill for mixing grout is a critical decision that affects project quality, efficiency, and tool longevity. While a standard power drill might seem sufficient for small tile jobs, heavy-duty mixing demands a tool designed for high torque and consistent speed control. This article covers the essential specifications, techniques, and best practices for mixing grout effectively, whether you are a professional contractor or a DIY enthusiast. We will also touch on how these principles apply to larger-scale operations, such as those found in mining and tunneling, where precision mixing equipment is paramount.
Key Specifications for a Mixing Drill
A dedicated mixing drill differs from a standard drill in several key areas. The most important specification is motor power. For mixing grout, a motor in the range of 8 to 12 amps is recommended. For example, the RubiMix 9 mixing drill uses a 10 amp motor and is rated at 1200 watts (Rubi Group, 2023)[1]. This power level provides the necessary torque to turn thick, heavy mixes without stalling.
Variable speed control is another non-negotiable feature. A drill that operates only at high speed will introduce excessive air into the mix, weakening the final product. A two-speed transmission, like the one found on the RubiMix 9 (620 rpm in first gear and 810 rpm in second), allows the operator to start slowly and increase speed as needed (Rubi Group, 2023)[1]. This control is essential for achieving a homogeneous mixture without aeration.
Ergonomics and safety features are also critical. A side handle is a must-have for managing the high torque generated when mixing dense materials. A user on a home improvement forum noted, “You for sure need a variable speed drill with a handle, mixing thinset requires torque” (Home improvement community contributor, 2023)[3]. Additionally, a locking trigger or variable-speed trigger allows for sustained operation without finger fatigue.
Proper Mixing Technique and Slaking
Even with the best drill, technique determines the quality of the final mix. The process begins with adding the liquid. Home Depot recommends adding 3/4 of the required water to the mixing container before introducing the dry grout powder (The Home Depot, 2023)[2]. This prevents dry pockets from forming at the bottom of the bucket.
Once the powder is added, the mixing drill should be used at its lowest speed setting to incorporate the dry ingredients. After a uniform consistency is achieved, the drill speed can be increased slightly. An often-overlooked step is the slaking period. After mixing, the grout should be allowed to sit undisturbed for 5-10 minutes (The Home Depot, 2023)[2]. This allows the chemical reaction to begin and any air bubbles to rise to the surface. After slaking, a brief remix at low speed ensures a consistent, workable paste.
This technique is not just for tile grout. In industrial settings, such as those using a colloidal grout mixer for mining and tunneling, the principle of controlled mixing and hydration is identical, though on a much larger scale. The goal is always a homogeneous, void-free mixture that meets specific engineering requirements.
Avoiding Air Bubbles and Achieving the Right Consistency
Air entrainment is one of the most common problems when mixing grout with a drill. Excessive air bubbles create weak points in the cured grout, leading to cracking and water penetration. The primary cause of aeration is mixing at too high a speed. As The Home Depot advises, “If using the drill go slow to avoid creating excessive air bubbles, which can weaken the mix” (The Home Depot, 2023)[2].
The correct consistency is also vital. A well-mixed grout should have a specific, workable texture. The Home Depot provides a useful benchmark: “Ideally grout should cling to your trowel like smooth peanut butter” (The Home Depot, 2023)[2]. If the mix is too stiff, it will be difficult to apply and may not bond properly. If it is too runny, it will sag in vertical applications and may shrink excessively as it cures.
For projects requiring precise control over mix quality, especially in demanding environments like mining tunnels, the equipment used must be capable of consistent output. A specialized colloidal grout mixer is designed to produce a uniform, colloidal suspension, which is essential for achieving high-strength, low-permeability grout. This level of control is difficult to replicate with a standard drill, highlighting the importance of using the right tool for the scale of the job.
Batch Size and Working Time Management
Managing the size of each batch is crucial for avoiding material waste. Grout has a limited pot life, meaning it begins to set once mixed. If you mix too large a batch, you may find yourself rushing to apply it before it hardens. The Home Depot recommends, “It’s best to mix small batches so the grout doesn’t dry out too quickly” (The Home Depot, 2023)[2]. This is especially important in hot or dry conditions, where the water in the mix can evaporate faster.
A good rule of thumb is to mix only as much grout as you can use within 20 to 30 minutes. For large areas, this means planning your work in sections and mixing fresh batches as you go. The same principle applies to industrial grouting operations. In a tunnel boring project, for instance, grout is mixed and pumped continuously, but the batch size is carefully calculated to match the injection rate and the setting time of the specific grout formulation.
For those seeking to improve their mixing efficiency, understanding the capabilities of different equipment is key. A high-quality mixing solution, such as those detailed in a comprehensive grout mixing guide, can significantly improve consistency and reduce labor time on large-scale projects.
Important Questions About Drill for Mixing Grout
Can I use a regular drill to mix grout?
You can use a regular drill for very small batches, but it is not recommended for frequent or heavy use. Standard drills lack the torque and thermal management needed for mixing thick materials like grout. They can overheat and burn out. A dedicated mixing drill, with its higher amp rating and reinforced gearbox, is designed for this task and will last much longer.
What speed should I use when mixing grout?
Always start at the lowest speed setting on your drill. This prevents the powder from being thrown out of the bucket and reduces air entrainment. Once the dry ingredients are incorporated, you can increase the speed to a medium range, typically 300-600 rpm, to achieve a smooth consistency. Avoid high speeds, as they create bubbles that weaken the cured grout.
How long should I mix grout before using it?
Mix the grout until it reaches a uniform, lump-free consistency, which usually takes 2-3 minutes. Then, let it slake (rest) for 5-10 minutes. This allows the chemical reaction to start and any air bubbles to escape. After the slaking period, give it a final 30-second remix at low speed before application. This two-step process ensures a stronger, more consistent final product.
What is the best type of mixing paddle for grout?
The best paddle for mixing grout is a heavy-duty, cage-style or spiral mixing paddle. These designs are effective at pulling the material from the bottom of the bucket and folding it into the mix. Avoid using paint mixing paddles, as they are not strong enough for the high torque of grout mixing and may break. Look for paddles made of steel or reinforced plastic.
Comparison: Standard Drill vs. Mixing Drill
Choosing between a standard power drill and a dedicated mixing drill depends on the frequency and scale of your work. The table below outlines the key differences to help you make an informed decision.
| Feature | Standard Drill | Dedicated Mixing Drill |
|---|---|---|
| Motor Power | 5-8 amps | 8-12+ amps |
| Torque | Low to moderate | High |
| Speed Control | Variable, often high rpm | Variable, low rpm for mixing |
| Side Handle | Often optional | Standard, robust |
| Best For | Drilling, driving screws | Mixing grout, thinset, mortar |
Practical Tips for Grout Mixing
Following these actionable tips will improve your grout mixing results and extend the life of your equipment.
- Pre-wet the bucket: Before adding water, lightly mist the inside of your mixing bucket. This prevents the dry grout from sticking to the sides and ensures a more even mix.
- Use cold water: In hot weather, use cool or cold water to mix your grout. This extends the pot life by slowing down the chemical curing reaction, giving you more working time.
- Clean immediately: Grout hardens like concrete. Clean your drill paddle, bucket, and tools immediately after use with water. Dried grout is difficult to remove and can damage your equipment.
For those involved in larger operations, such as structural grouting in tunnels, investing in professional-grade equipment is essential. You can find more information on this topic through a CDL training program that covers heavy equipment operation, or search for CDL training near me to build the skills needed for industrial roles.
Key Takeaways
Selecting the correct drill for mixing grout is a balance of power, speed control, and user safety. A dedicated mixing drill with a 10 amp motor and two-speed transmission, such as the RubiMix 9, provides the torque and control needed for consistent results. Remember to mix at low speeds, allow the grout to slake, and always work with manageable batch sizes. Whether you are tiling a bathroom or working on a mining tunnel, proper mixing technique is the foundation of a durable, high-quality installation. For further guidance on advanced mixing equipment, explore the resources available on CDL training programs and related industrial training.
Useful Resources
- RubiMix 9 Grout and Thinset Mixing Drill. Rubi Group.
https://www.youtube.com/watch?v=O04uqb9IYXc - How to Mix Grout | Tile Projects | The Home Depot. The Home Depot.
https://www.youtube.com/watch?v=K4edaClzVIY - Drill for thinset mixing?. Reddit.
https://www.reddit.com/r/HomeImprovement/comments/11koytm/drill_for_thinset_mixing/